No-Knead Master Bread Recipe
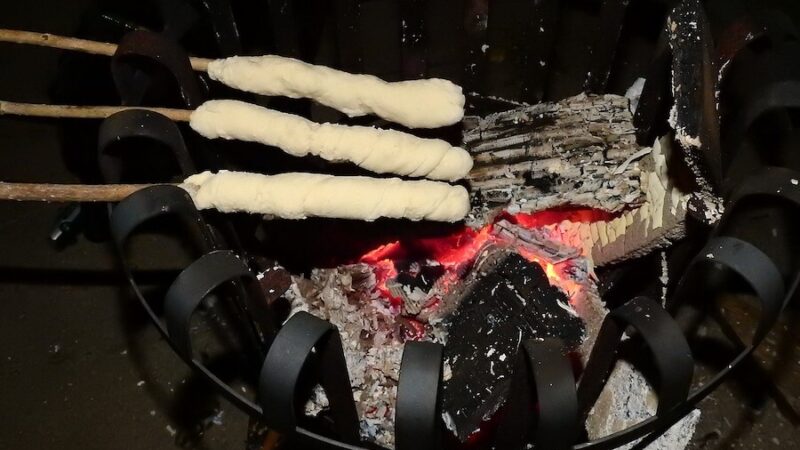
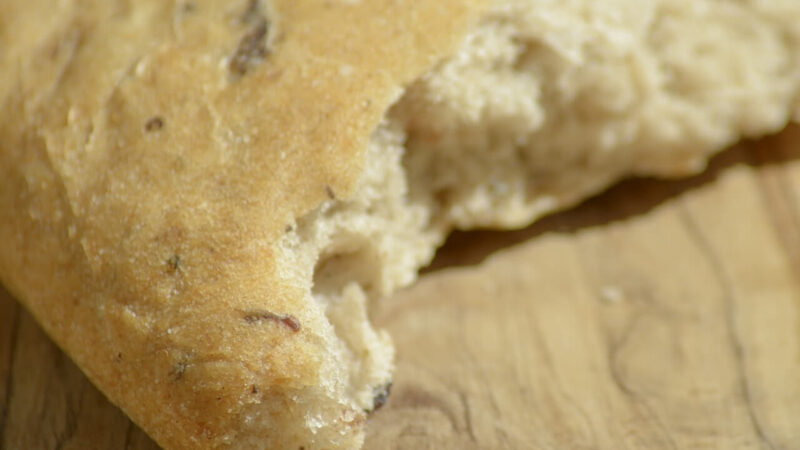
We ate our bread with butter or preserves for breakfast, warmed over fires on our hikes,
and as a side to soups and stews for dinner.
This recipe was passed down to me by my friends when we baked it together on a week long winter camping trip, and it kept us warm and full each day. Strangers at the beginning, we quickly bonded over rising dough and wood stoves in our small primitive cabin. We ate our bread with butter or preserves for breakfast, warmed over fires on our hikes, and as a side to soups and stews for dinner. Rustic and flexible, these loaves benefit from any additions or changes you’d like to make (herbs, seeds, different flours), or do fine on their own as a bread staple.

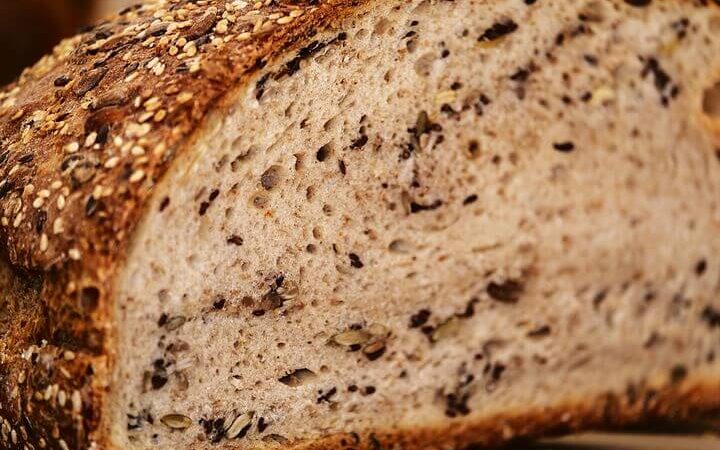
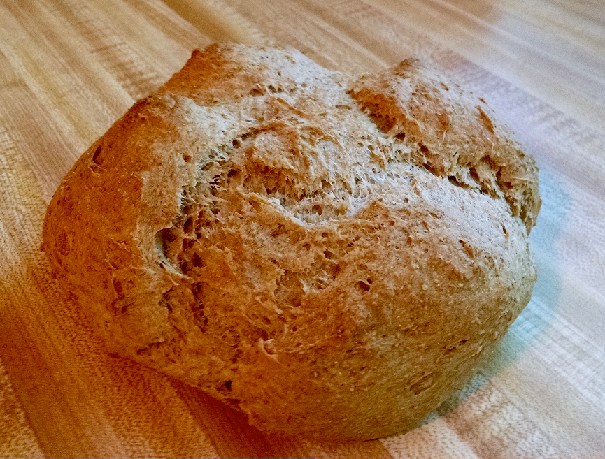
Now, I often use this recipe as the basis for free-form crusty loaves as well as pizza dough. It’s quick to throw together, requires no kneading, and can be made ahead of time. The original recipe is quite large, so I often halve the mixture (when not prepping for a trip) to make only two loaves at a time. However, if you want to make a full batch, you can refrigerate the dough for up to a week or freeze it for up to three months. The loaves pictured here were made with a mixture of half all-purpose and half whole wheat flour.
Makes 4 1-lb loaves
Prep time: 10 minutes
Rise time: 2 hours
Bake time: 30 minutes
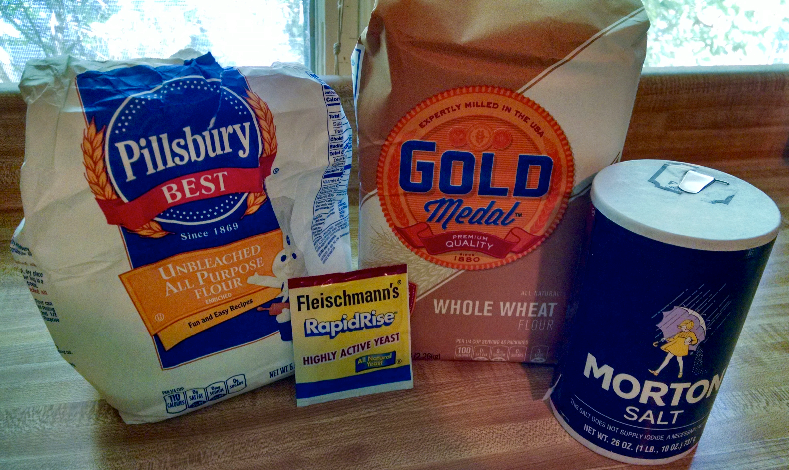
Ingredients
3 cups warm water
1 ½ Tablespoons active dry yeast
1 ½ Tablespoons sea salt
6 ½ cups flour
Cornmeal or flour for dusting the pan
Instructions
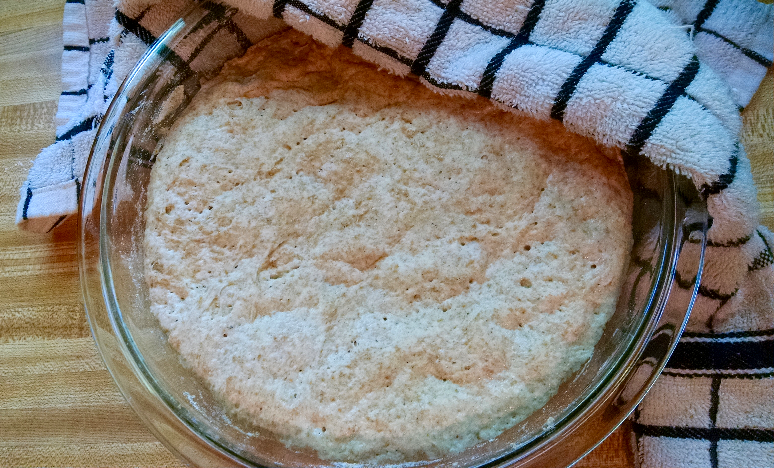
- Place 3 cups of warm* water in a large bowl. Add the salt and yeast and mix until everything has dissolved. Let sit for 5 minutes until the mixture becomes foamy.
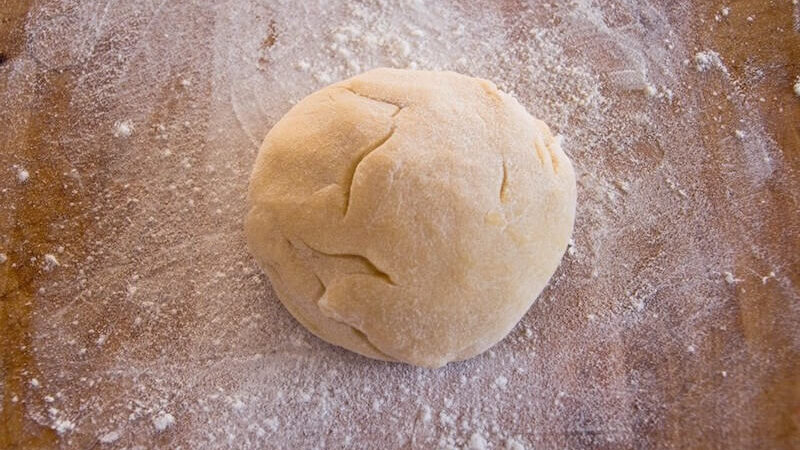
- Mix in the flour and stir until combined. The dough should pull away from the sides of the bowl and form a dense ball. Add water as needed to incorporate all of the flour (the dough should not be super sticky).


- Add a small amount of oil or cooking spray to the bowl to prevent sticking. Let the dough rest for 2 hours, loosely covered with a towel or plastic wrap.

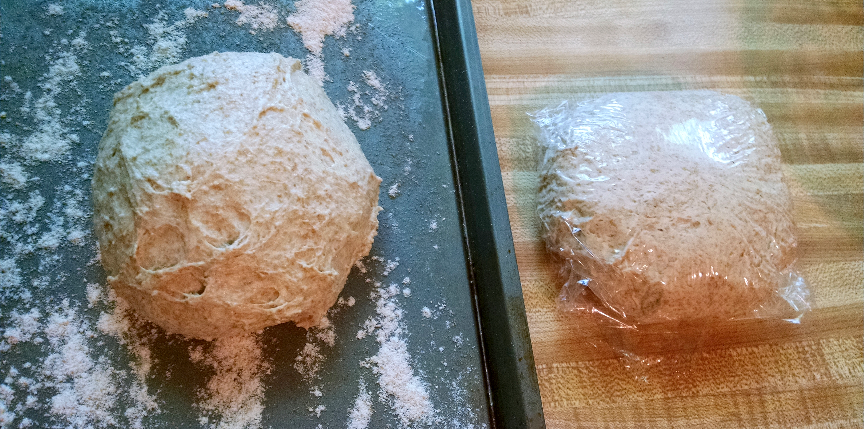
- Divide the dough into four equal portions. Gently form the dough into balls. To save the dough for later, loosely wrap your dough ball in plastic wrap and place in the refrigerator, or wrap and place the dough in a plastic freezer bag to be stored in the freezer.


- Preheat your oven to 450°F/230°C. Coat your non-stick baking pan or tray** with a dusting of cornmeal or oil and flour.
- Place the dough on your tray or pan and allow it to rise while the oven pre-heats. Cut slits in the tops of your loaves to allow for expansion. Bake for 30-35 minutes, or until a golden crust forms on the outside of your loaf***. When finished, remove the bread from the oven and let it cool in the pan for 5-10 minutes. Then, finish cooling the loaf on a cooling rack.
Baking notes:
* Avoid heating your water in the microwave and getting it too hot. You want your water warm enough to feel comfortable. Ideally it should be as warm as baby bath water.
** Pick a baking method to fit your loaf preference. Use a non-stick baking tray, bread pan, or baking stone accompanied by a tray of water for steaming. To prevent sticking, I find a coat of oil, followed by a dusting of flour, works best.
*** To make a pizza crust, stretch out the dough to your desired shape and place on a prepared baking sheet. Bake for 5-8 minutes, or until the crust just begins to harden. Remove the tray and add your pizza toppings as desired, then return your pizza to the oven and continue cooking for another 15-20 minutes, or until the edges become golden brown.