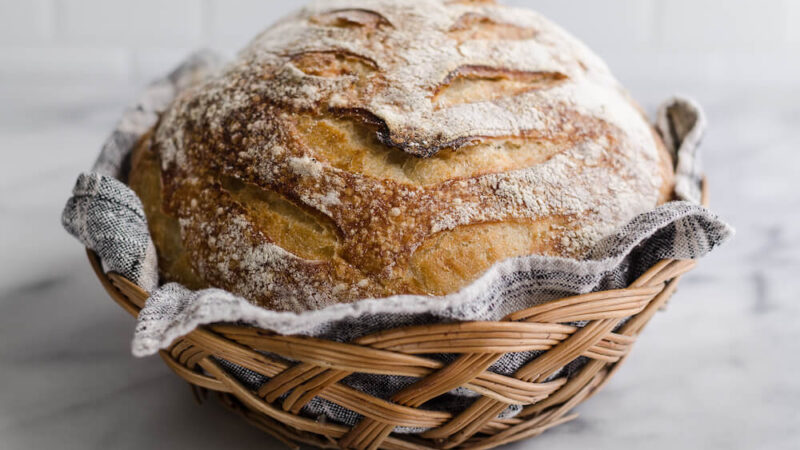
Bake Artisan Style Golden Crust Bread in a Dutch Oven
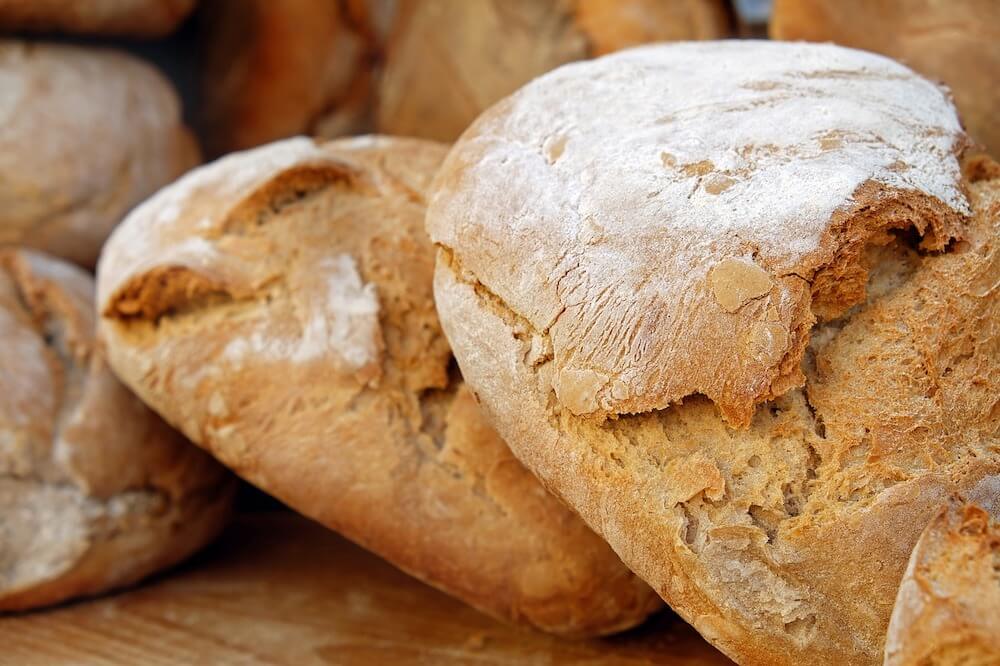
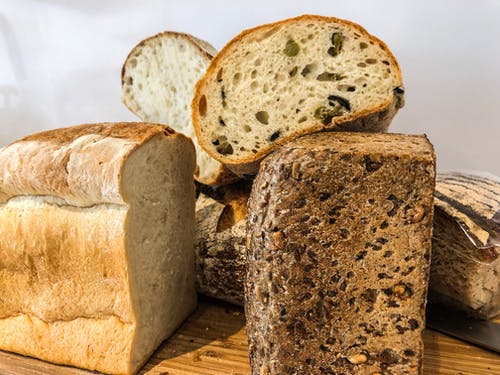
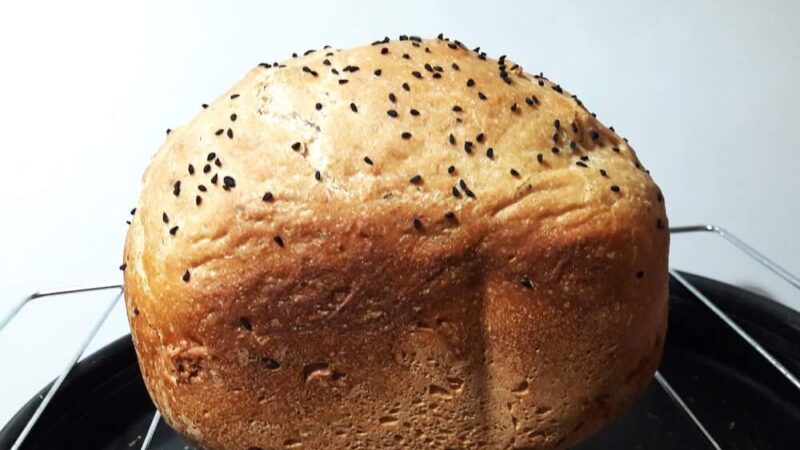
All you need is a Dutch oven to bake golden crust bread at home, exactly like the ones you see at artisan bakeries. Creating those crusty delicacies made possible by professional steam ovens at the bakeries. We all know how hard it is to create that environment in our conventional ovens only by adding ice cubes or spraying water on the bread dough. Conversely, it is pretty easy to bake with steam if you have a Dutch oven; it creates steam from the dough itself.
In basic terms; bread making is mixing lukewarm water, yeast, flour and salt in a bowl. Knead by hand for 10-12 minutes and you will get a beautiful dough as long as your water and flour levels are balanced. However, this is just the beginning of a wonderful journey and the best is yet to come!
Eventually, you will discover and develop your own rustic characteristics and learn about the tasty features of fiber-rich rye flour, sourdough starter’s crust effects, charming banneton baskets and so on. But you will also discover that no matter what you do, it is nearly impossible to obtain that shiny, crispy crust at home. Now, Dutch oven gives you that secret power to bake your bread with amazing crust.
How to Bake Bread in A Dutch Oven?
Learning how to bake bread in a Dutch oven will be the next big thing in your bread making. It is not hard at all, but you must know what type of Dutch oven you need and the tricks for baking in it. Dutch oven is basically a pot with a lid to create steam. It is also a very versatile utensil used for making stew, searing, frying, and my favorite; baking. Famous writer Catharine Strickland Parr called these as ‘Bake Kettles’ and ‘Bake Pans’ in her book ‘Backwoods of Canada’ which was published in 1837 (written in 1832). She stated that these pots were amazing at baking bread. Almost a hundred years ago, she figured out the way to bake golden crust bread on fire with the help of a Dutch oven. Don’t you think it is time for you too?
Benefits of baking bread in a Dutch oven includes:
- Perfect crust; steam makes golden and crispy crust.
- Softer inside; exterior crust works as a shield to allow the interior bake softly.
- Better texture; steam allows the bread to expand more, resulting in better texture inside the bread.
What Is the Best Size Dutch Oven for Baking Bread?
Best Dutch oven size for bread baking is between 5.5 to 6 quarts. This is also a good size for making soups and stews. Dutch ovens vary in size enormously, but 5.5-6 Qt would be large enough for bread and most of your cooking. Anything larger than 8 Quart or smaller than 4 Qt would not be suitable for baking a good size of bread.
Best Dutch Oven Bread Recipe
Here is the best Dutch oven bread recipe you can make easily at home. Be aware that the water level of this recipe is high and it is especially intended that way since it is a no-knead bread. This wet dough formula will produce great steam in your Dutch oven.
Ingredients:
- 3 cups of bread flour (high protein)
- 1 package instant yeast or 1 ¼ package active dry yeast
- 1 cup of water
- ½ cup of lukewarm water
- 1 teaspoon of olive oil (you can substitute with any oil type such as canola, avocado, etc.)
- 1 teaspoon of salt
Directions:
- Add your instant yeast into ½ cup of lukewarm water, stir and wait 3 minutes. We do this to test the yeast not to activate it since instant yeast does not need activation.
- Blend all your dry ingredients in the bowl which you will use for kneading the bread.
- Add the yeast and the olive oil into the bowl.
- Use a spatula to stir and blend, continue till everything is well incorporated.
- Fold with the spatula for 5-6 minutes.
- Cover up with towel and let the dough rest for 45 minutes.
- Then fold the dough again from the corners to the center for about 3-4 minutes, you can use a spatula or your hands.
- Throw it in the fridge for 24 hrs. with the bowl covered with the towel.
- Take the dough out and let it come down do room temperature. Press it down gently by folding, let it rest another 15 minutes.
- Transfer it to flour dusted countertop. Shape your dough anyway you like. Put it upside down into the banneton basket if you prefer. I suggest proofing on parchment paper for easy transfer into the Dutch oven later. To do that; just spray the center of the parchment sheet with water and drop the dough right on it. Then transfer the dough along with the parchment paper to a bowl so that it retains the ball form. Let the dough rest till the Dutch oven get preheated.
- Preheat the Dutch oven at 450°F/230°C for 45-60 minutes.
- Hold the parchment sheet from the sides and transfer it together with the dough into the Dutch oven. Don’t forget to score your bread with a razor-sharp knife.
- Close the lid and put the Dutch oven into the oven.
- Take off the lid after 20-25 minutes and continue to bake for another 25 minutes.
Tips: You can substitute 1 cup of bread flour with 1 cup of whole wheat flour to make it whole wheat bread. Use sea salt instead of regular salt to make it even healthier; just replace 1 teaspoon of salt with 1 ½ teaspoon of sea salt. Add 2 tablespoons of any seeds or dried fruits you like to increase flavor. You might have to adjust the water amount depending on the humidity level in your kitchen and the water absorbing quality of the flour used.
If you are baking bread then you must have some love towards serious artisan baking where the bakers prefer sourdough starter as the leavening agent. Maybe, it is time for you to get your hands on the wild yeast too! I truly suggest you prepare your own sourdough starter and use it in your recipes in place of active yeast if you have not already. Here is an easy sourdough starter recipe to get you started. It will be your new pet because you have to feed it at least 2-3 times a week.
How Do I Substitute Instant Yeast for Sourdough Starter?
You can easily convert your instant yeast recipes into sourdough recipes. For each package of dry yeast (7 grams/ 0.25 Oz), add one cup of sourdough starter. Reduce the water in the recipe by 1/2 cup and then reduce the flour by 3/4 cup.
Try the following sourdough starter formula; it is the converted from the Dutch oven recipe above.
Ingredients (sourdough starter version):
2 ¼ cups of bread flour (high protein)
1 cup of whole wheat flour
1 cup sourdough starter
1 cup of water
1 teaspoon of olive oil
1 teaspoon of salt
Score Your Bread
Bread needs to be scored right before we put it in the oven especially when making crusty recipes. If we don’t score then the bread would crack and open up from its weakest points. You would still have an edible dough but less attractive. The goal is to decide where the load is going to expand and score right from there accordingly. You need a razor sharp blade for scoring bread. Do not saw into the bread dough, just make a fast and confident cut, more like a slash!
How Do You Transfer Bread to A Dutch Oven?
You can use a parchment paper and transfer the dough into the pot together. This way you can transfer the loaf into the hot Dutch oven easily by holding the empty corners of the parchment sheet which would work as handles. All you have to do is to put the bread together with the parchment sheet into the Dutch oven; you are basically dropping the loaf into the pot. Put the lid back on and start baking your bread in the conventional oven for 45 minutes or so.
How Do You Keep Bread from Sticking to The Dutch Oven?
The best way to keep bread from sticking to the Dutch oven is to use parchment paper as lining under dough. Put the bread dough on the parchment sheet and then put them together in the Dutch oven. Feel free to cut the extra parts of the parchment paper hanging from the sides of the pot.
But if you did not use any lining and your bread got stuck to the Dutch oven anyway then there is a way to save it. Simply wait for the bread to cool down. Keep the bread in the pot for about 10-15 minutes. Once it cools down then It would probably come out easily. The only drawback with this method is that there is a chance it might get soft on the bottom. Do not leave the baked bread in the pot to cool down unless it is really stuck to it. You might save the bread but the bottom of the bread may become soggy.
Alternative approaches to prevent bread from sticking to the Dutch oven:
- Add corn or rice flour to the bottom of the Dutch oven.
- Grease the bottom and the sides of the Dutch oven.
- Sprinkle some semolina flour to the bottom of the pot.
How Do You Get Bread Out of a Dutch Oven?
If you did everything right then you should be able to remove the baked bread easily. Hold your hands up in the air and get that bread out. Use a pizza peel or similar and slide it under the bread and in between the parchment paper to get rid of the parchment sheet.
Can You Put A Cold Dutch Oven in The Oven?
Be careful; enameled cast iron Dutch oven cannot be put in the oven directly when it is empty or it will certainly crack. Enamel is made out of glass and it will not stand high heats over 400°F. You should warm it slowly to prevent thermal damage, in other words, put the Dutch oven into the cold oven and then slowly heat it, don’t take any chances, those Dutch ovens are precious.
What Kind of Dutch Oven Do You Use for Bread?
You must select a high-heat resistant, durable Dutch oven for bread baking. Not all Dutch ovens can stand high heat. They usually come in two different versions. The difference lies in the coating. Bare cast iron Dutch oven has no coating inside and mainly built for outside use such as camping. They are not non-stick and must be greased if you want to bake bread in them. Enameled Dutch ovens are coated with enamel as the name implies but cannot be put into hot oven when it is empty. Sometimes, it gets tricky to select a Dutch oven suited for bread baking; here is a short list of best Dutch ovens for baking bread. They are all high-heat resistant and either pre-seasoned or enamel coated to provide non-stick surface for your food.
In Conclusion
If you are serious about making bread at home then you can’t do without a Dutch oven. People have been baking with Dutch ovens for hundreds of years and you don’t know what you’ve been missing. This is the best and easiest way to create powerful steam in your oven for that golden crust just like the pro bakers do with their rotary ovens.
