A Guide to Baking Bread for Beginners: Intro to Heaven for Novice Bread Fans
Welcome to the wonderful world of bread baking, this is a beginner’s guide for making heavenly bread at home! Bread is a nutritious heritage from our ancestors and anyone can make a good one at home with a few tools and some basic dough knowledge. Learn the easy way and start baking those crusty delicacies in no time once you understand the process. I underlined the word ¨process¨ for a reason because that’s what it takes; learning the process! Forget about those recipes, cups of flours, yeast types, etc. First, you have to understand what is this thing called the bread dough and then you can even make up your own recipes.
You will get hooked to bread baking once you make your first successful bread at home. It is fun, delicious, healthy and you can really blow off some steam in the kitchen; a great way to send that stress away.
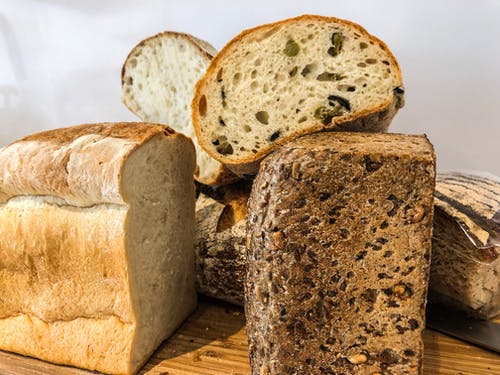
All breads share two common ingredients; water and flour whether your favorite is bolillos, sweet Hawaiian, French baguettes, yeast-free Arabic bread, English muffin, Italian ciabattas, Irish soda bread, Indian Naan, the list goes on. So, regardless of where you are located on the blue ball, bread is an important and tasty part of our diet that we all enjoy one way or another.
What Is Bread?
Bread is simply a blend of wheat flour, water, salt and yeast; we combine these and knead to get bread. There are so many ways to make one; baking, boiling, frying, toasting, and even by cooking in tandoor. You can use all kinds of flours ranging from corn to rice but the most common type all over the world is the white bread for which I will provide tips, tricks, and recipes today.
What Is the Process Of Bread Making?
Bread baking is not like soup making. You can’t really make a good one just by throwing the ingredients in to a bowl. This is the part that scares most people. But it is very easy actually.
Your only goal is to develop the gluten inside the dough and the rest is just child’s play.
If you are going to memorize anything then memorize this: Gluten holds the bread together.
A good bread dough is a gluten developed flour-ball. You are trying to form a playdough-like form with four basic ingredients. Everything we do up until the time we shape the dough is for developing gluten. In other words, all those kneading, folding, resting, degassing we are doing is only to make the dough stronger. Once it is strong enough, we bake and eat it.
Why Do We Knead the Dough?
We knead the dough to make it elastic. This makes the dough stronger. Starches in the dough start a chemical reaction enabling the gluten to create a thin wall. We are basically trapping the air inside the bread. Yeast is producing carbon dioxide and the gluten wall is the block.
Folding and resting several times makes it even stronger. This rise and fall technique is pretty much like weight lifting for the bread dough. You put it in the oven for the championship when it’s trained well.
Kneading the dough for 10 to 12 minutes is enough for dough formation. It is also a good work out for you if you knead by hand.
No Knead Bread – Wet Dough Method
Let’s just start with the simplest but the tastiest bread making technique. You don’t have to worry about kneading with this one as the name implies.
The only drawback with this method is the time. It takes 24 hours to prepare the dough. If you are looking for faster recipes then you can try the crusty baguette recipe (Fantastic baguette trays …) but please note that the no kneading technique is incredibly effortless and yummy. Plus, it is the best way to learn baking bread for beginners.
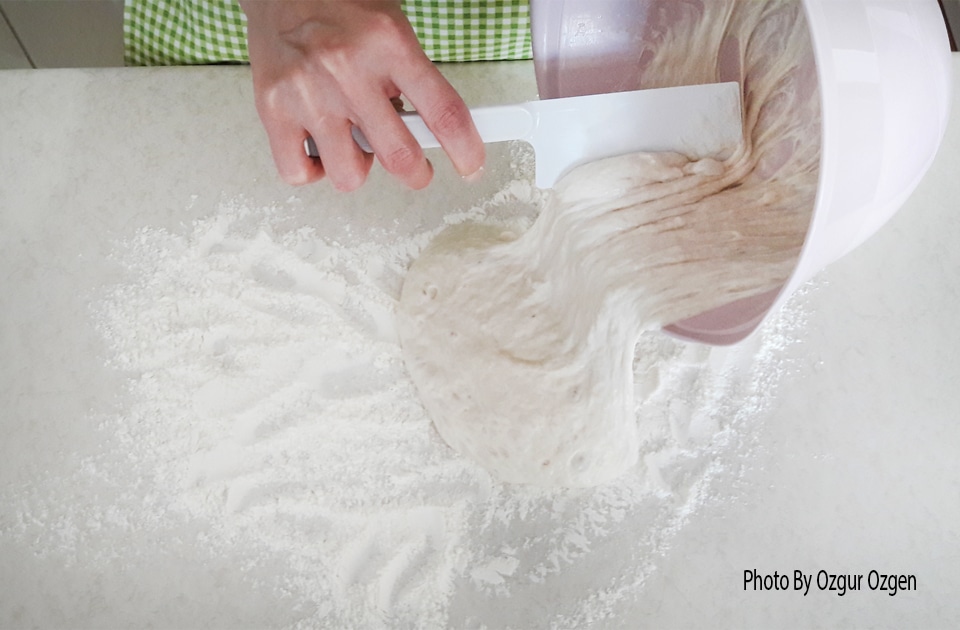
We create a high liquid recipe by adding excess amounts of water. The dough becomes sticky. Instead of kneading, we only fold the dough with a spatula without taking it out from the bowl. Afterward, we keep it in the fridge for 24 hours.
Here Are the Steps For Making Wet Dough:
- Combine all the ingredients in a bowl.
- Blend everything together with a spatula.
- Continue to fold the dough from the corners to the center with a spatula.
- Cover the bowl with a towel and put it in the fridge.
- Take it out next day and let it rest till it comes down to room temperature.
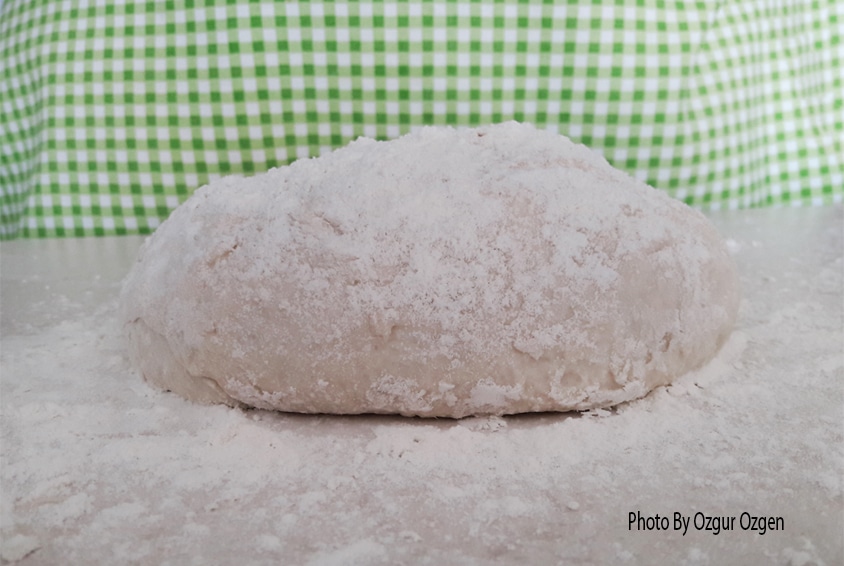
- Dust your countertop with flour and gently take out the dough with the spatula.
- Shape it anyway you like. Use a banneton basket or put the dough on a parchment paper.
A Basic Wet-Dough Recipe:
- 3 cups of wheat flour
- 1 ½ cups of water
- 1 package active dry yeast (7 grams)
- 1 teaspoon of salt (or salt to taste)
It takes practice to learn to knead the dough with style so don’t be afraid to get your hands in the dough and try regular recipes too once you master the wet dough method.
Making Traditional Bread at Home
Regular bread baking takes kneading the dough until it develops gluten. This is the main difference with the wet dough technique. You can make this kind of bread faster and there is no need to proof it overnight.
Most new bakers are afraid to touch their bread dough after it first rises up as it is a gas filled balloon. However, if you fold your bread dough a few times before you give its shape, the gluten develops much stronger and it will not deflate.
Common steps for making regular bread dough (aka 12 steps of bread making):
- Make ingredients ready; measure them by cups or by a digital scale.
- Blend and knead; use a spatula or kitchen stand mixer (or your hands) and knead the mixture.
- Initial fermentation; let it rest in a bowl, forget about it for 45 minutes.
- Punch-down; press it down by hand or a spatula and degas the dough to release air.
- Divide the dough; skip this if you are only making a single loaf. If your dough is large then make smaller portions by dividing it into equal parts.
- Form balls; round the divided portions or the single dough to form a ball shape.
- Rest; let it sleep for another 45 minutes.
- Shape the dough into any form you like.
- Proof it; let it rest more in room temperature.
- Scoring; lightly slash the bread decoratively.
- Bake it; put it in the oven.
- Cool it down; put it on a wire rack for 1 hour (or at least for 30 minutes if you are too hungry)
Slice, and eat!
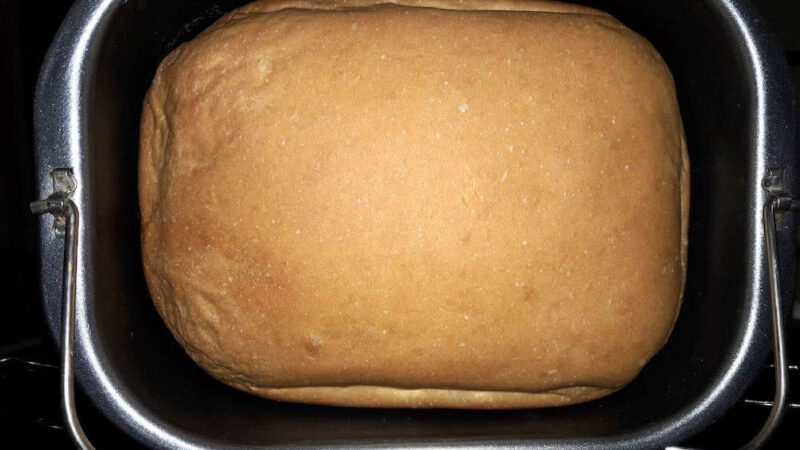
Alternatively, you can also make one in a bread machine.
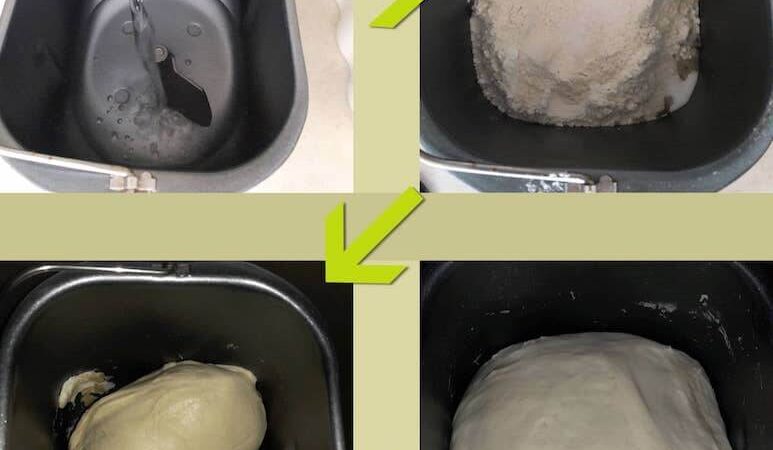
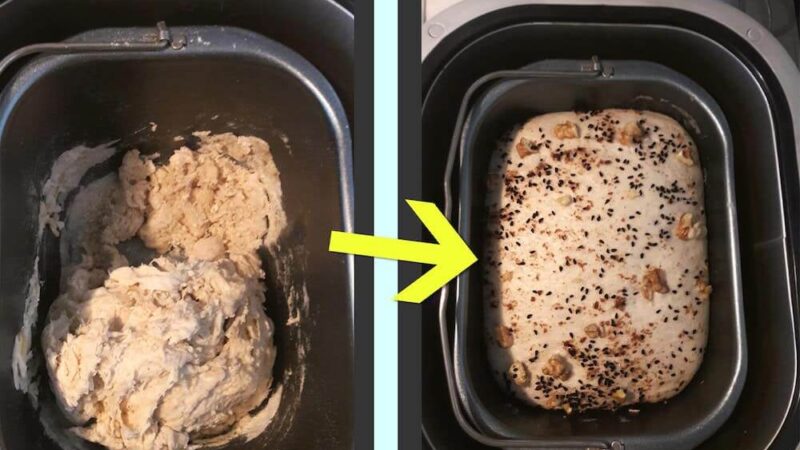
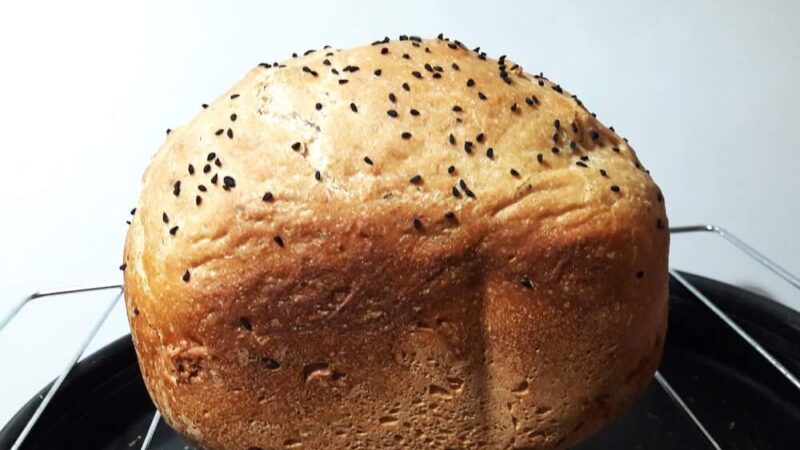
Making Bread with a Bread Machine
Bread machines are extremely convenient. You basically put the ingredients inside the bread machine pan and set the knob for dough type. It is so easy. I love the delay timer feature; you can set it up to make hot bread ready for you in the morning. For detailed bread machine review and recipes see my article on bread machine tips.
How to Score Your Bread?
Scoring your fermented dough with a sharp knife helps to develop a crispier crust. There Is only one rule for scoring the bread; you should not cut too deep but rather leave a trace. This way the bread can open up and expand while baking.
You can also use kitchen scissors or sharp razors for scoring bread. Bakers usually cut 4 lines somewhat parallel to the long side of the loaf on a baguette bread. However, you can be creative unless you want to sell them. Round ones are perfect for decorating!
How to Choose the Best Flour For Bread?
Bread flour needs to be high in protein in order to develop gluten while kneading. This is necessary for the bread to rise during fermentation. Most brands sell flour under the name ¨Bread flour¨ and these are high protein flours ideal for making bread at home. If you are health conscious then just replace 1/3 of the white bread flour in your recipes with whole wheat flour.
Can I Use Tap Water for Bread Making?
Tap water contains chlorine which is not good for the dough. The bread would still come out good if you use tap water. Using bottled water adds a little extra flavor to your dough which might be a useful final touch for those who are detail oriented. You must use bottled water especially when you are making a sourdough starter, now that’s a requirement.
Which Yeast Should I Use for Bread Making?
If you are new to bread making then the terms instant, active, and fresh yeast might confuse you. The only difference here is actually the way they are activated and stored. The final result is the same.
- Fresh yeast must be kept in the fridge and has a shorter shelf life. It also needs activation, meaning you drop it lukewarm water and mix with sugar so that it gets foamy and ready.
- Instant yeast needs no activation, you can throw it in directly to your flour and start kneading.
- Active yeast also does not need activation but people tend to drop it in lukewarm water before using. It says on the package to mix with lukewarm water but this is not to active only to test if the active dry yeast is still fresh or not.
If you are really looking for a good leavening agent which can make a difference then it is called the sourdough starter. It is something you can develop at home simply by combining flour and water. Learning how to prepare sourdough starter is an essential skill for any home baker and it improves the flavor and texture of your bread enormously.
Which Oil Should I Use When Baking Bread?
If you are making crusty bread then stay from oil or butter. It will make your bread soft without a crust. Oil is a good addition when making soft toast bread. This is the kind you bake in a pan and makes great sandwiches. Don’t use coconut oil; it tastes great but it is really unhealthy. Instead, you can try canola, olive, avocado or any other oil you like when making sandwich or sweet bread.
What Temperature Is Good for Baking Bread?
White bread is generally baked at 400°F (204°C). Never underestimate the oven temperature; it is a key factor for making good quality bread and can easily ruin your efforts. Bread needs to build crust and it cannot do that at low temperatures.
Check your recipes and adjust your oven temperature knob carefully. A quick rule to remember would be that the more enriched your loaves of bread then the lower the temperature of your oven should be. Whole grain, rye flour bread with seeds and nuts tend to bake at lower temperatures and for a longer duration than white bread.
How Long Does It Take to Bake Bread?
Baking bread can take anywhere from 20 to 45 minutes. Plain white bread is usually baked for 25 minutes but baking richer bread can take up to 35 to 40 minutes. It really depends on what you are making. If your baking a wet dough with lots of seeds then your baking period will increase due to low temperature in the oven.
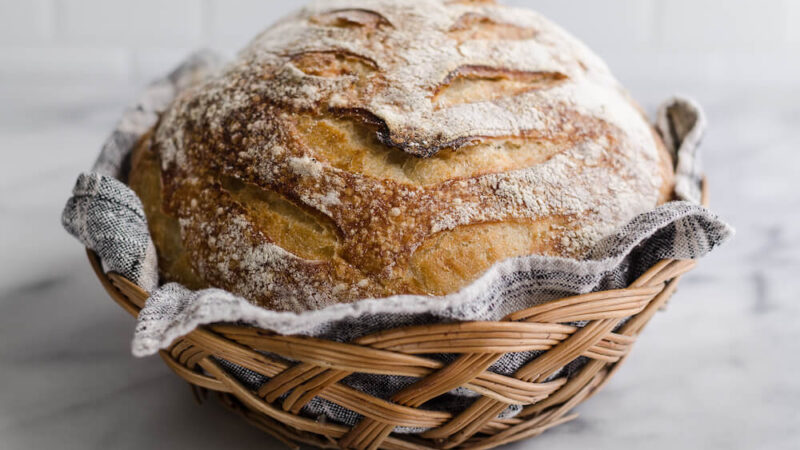
How to Bake Artisan Bread At Home?
Regardless of the common belief, baking artisan bread at home is possible and easy if you know what you are doing. You need the right formula and just a few kitchen gadgets like a Dutch oven to bake as good as the ones at your favorite bakery.
First you have to make a decision; do you want to bake a European style crusty bread or a soft bread for sandwiches? Baguette, ciabatta, and round sourdough are good examples of crusty bread. Soft bread, on the other hand, is the sliced toast bread sold in bags at your grocery store.
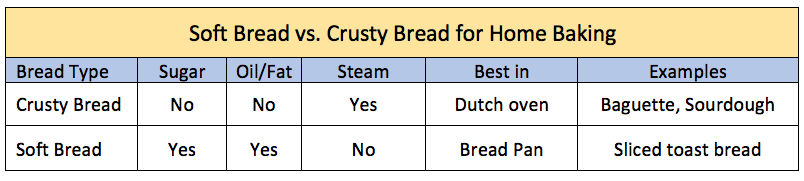
Don’t use oil or sugar in your recipes if you want to achieve golden crust at home. Fermenting the dough for longer by folding and resting several times will also improve the texture.
And third but not least, you need steam in the oven for making an artisan bread. Regular ovens are no good for this purpose. People tend to put ice cubes next to bread or water spray it right before baking. Unfortunately, these won’t help much if you really want to have professional looking crusty. However, you can easily make one if you get a Dutch oven which creates high quality steam all from the bread itself naturally.
Why Homemade Bread Is Healthier Than Store Bought Bread?
Most bread you buy from bakeries and grocery stores include dough conditioners, anti-staling agents, emulsifiers, and corn syrup. There are some organic bakeries but in general most stores sell industrial type bread.
A professional bakery’s main goal is to produce a consistent item with each dough batch. This standardization requires them to use additives to make extra profits. Unfortunately, this is no good for your health.
Is Making Your Own Bread Cheaper?
Making your own bread is cheaper and also healthier. Best way to control what goes into your bread is to bake on your own. In addition, you get a chance to improve the nutritious elements by adding various seeds, dried fruits, olives, nuts and more. It is kind of hard to give you a net price since it really depends on where you live but on average you can save 30%-40% if you make your own bread and buy your ingredients in bulk. Plus, it tastes much better!
If you are looking for bread tips that will make any artisan baker jealous then you can read my article on homemade bread tips.
In Conclusion
Baking a perfect bread is no magic. You will eventually gain experience over time and create your own signature flavor. To me; bread baking is an art in itself. I just love the fact that you can be really creative and bake a different one with unique flavors each time. Remember, you need to understand the process to create the perfect bread dough instead of memorizing recipes. Gluten development is the key to make artisan style bread. Start baking with these tips and you will master bread making in no time, guaranteed!