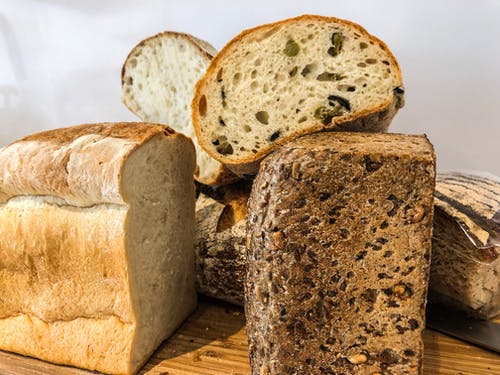
Fresh Ground Flour – Why to Grind and How to Store it?
I remember the deafening sound of the grinding mill that filled my mornings when I was little. Grinding the flour at home was an essential part of a domestic routine. But as years went by, with the purpose of saving time and effort by buying commercial flour, the art of grinding and storing it at home has almost vanished.
With the current whole foods movement, the trend of grinding and storing flour is still alive in many homes. With the growing urge to become self-sufficient, having home-ground flour is a great idea.
Why Should You Grind Your Own Flour?
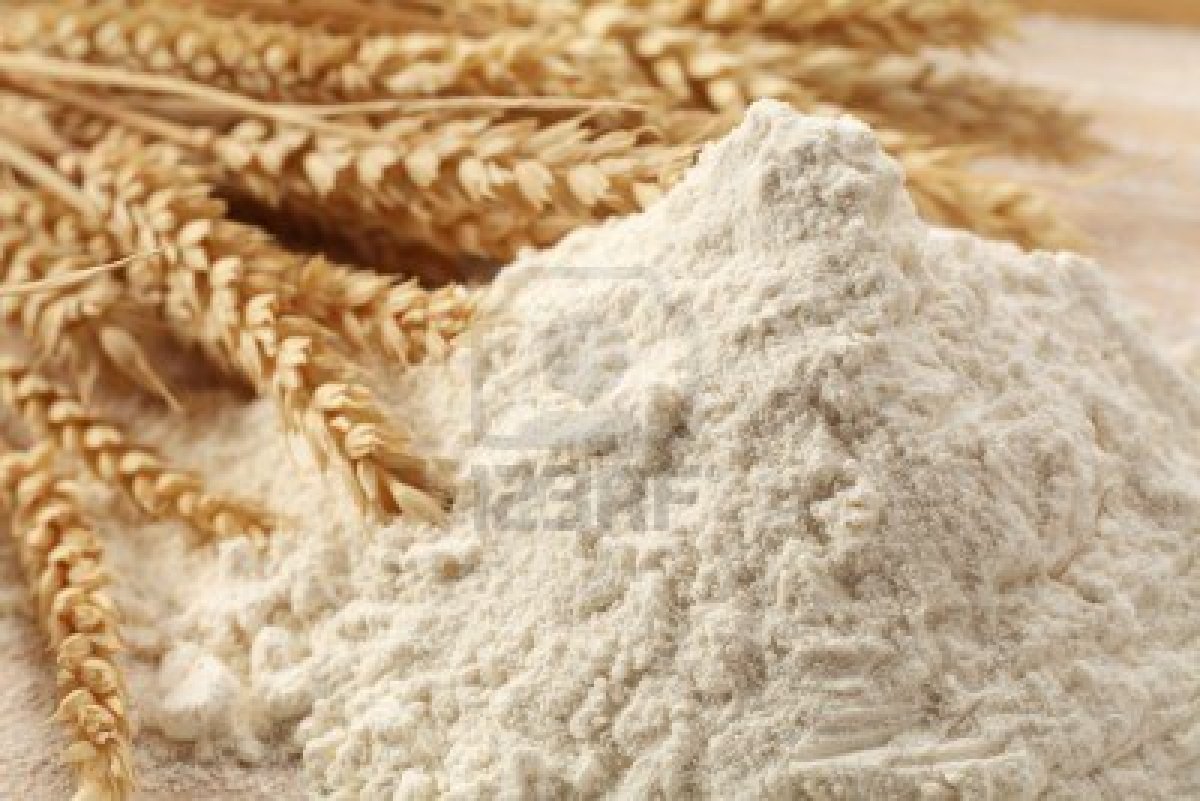
Home-ground flour is enriched with nutrients that are absent in the commercially processed flour. The flour available at the supermarket is deplete of fiber, vitamins, minerals and antioxidants that are removed to increase the shelf life.
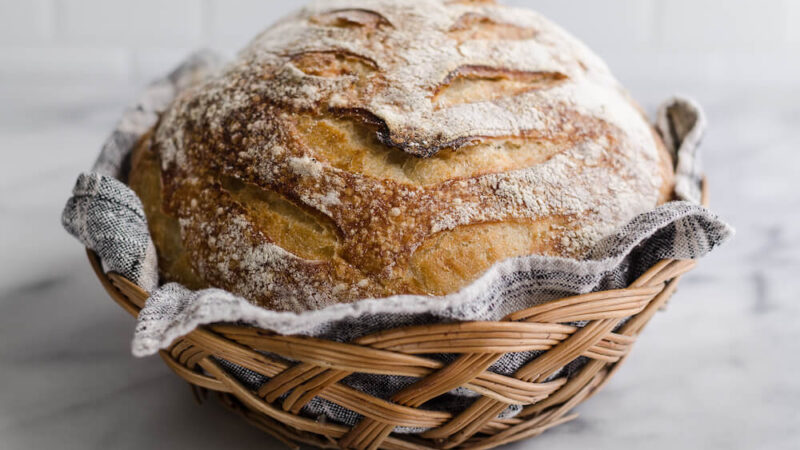
Processed flour is known to be associated with a lot of diseases such as obesity and diabetes. Wheat allergies and gluten intolerance is also increasing. Plus, processed flour cannot compare to home-made flour in taste either. Grinding your flour at home helps it retain the natural oils in the grain.
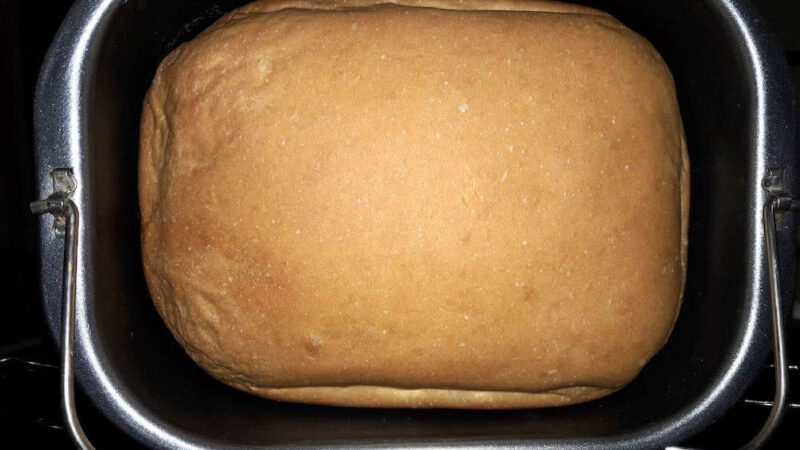
The goods baked thus have a lightness that cannot be achieved with its store-bought alternative. But the presence of these oils reduces the shelf life of the flour so it needs to be either used up quickly, within a couple of days, or stored in a cold place. Otherwise, the oils can turn stale.
You can always store your home-ground flour in the refrigerator and take it out when you need to use it. Grinding the flour at home is also cost-effective, in case you use any specialty ingredients or opt for gluten-free flour. It is therefore cheaper to buy the grains and grind them yourself.

Make Your Own Flour
You can choose from a variety of ingredients to add to your flour. The traditional flour is usually made from wheat or rye, or a blend of the two. Barley is seldom used. Kamut and spelt are also a healthy choice.
If you want to keep it gluten-free, you can pick any of the following readily available ingredients: almonds, amaranth, arrow root, brown rice, white rice, buckwheat, cashews, corn/ popcorn kernels, flax seeds, hazel nuts, millet, most beans, oats, potatoes, quinoa, soy beans, sunflower seeds, sweet rice and tapioca.
All these ingredients are easily available in your grocery stores or online. If not, you can definitely find them at a specialty food store.
To make bread flour out of regular wheat, spelt or kamut, 1 tsp of gluten flour per cup of wheat flour needs to be added. Extra gluten is only needed if you need a lighter loaf of bread otherwise the grains themselves will suffice. For gluten-free bread, xanthan gum helps to make the dough rise and stick really well.
A food processor or high powered blender can do the trick for oats wheat or some nuts and seeds. But some grains might need a grain-mill to succumb to the process. A variety of manual and electric mills are available on the market. A hybrid model can also be found. Buy your equipment keeping in view your choice of ingredients, the fineness of the flour and the frequency of use.
Tips and Tricks for a Safer Store of Your Flour or Grains
Underground seeds can be stored much longer so grind only the amount that you require to use. Soft wheat is used for pizzas, muffins and all-purpose baking while hard wheat is preferred for breads. The gluten-free grains provide a good ground for new food experiments.
Wheat can also be grown in your own backyard if you have enough space. Just let the berries sit for a few days after the harvest and then grind them into flour. For efficient storage you also need to have air-tight jars or vacuum sealed bags.
The Grinding Process
The method is no rocket science. All you need to do is add the grain to the mill and run the processor. If you are using a food processor instead of a grinding mill, then on the first go, it might be a little granular (depending on your model). So you can repeat the process until the grains reach the required consistency.
It is very important to clean your grinding equipment after every use so that there are no residual specks in the machine for your next use. The particles left unclean can easily rot your next batch of fresh flour.
Different Types of Storage
It is advisable to store the grains and grind up only the amount that you need to use at most within a fortnight. This reduces the chances of the flour changing taste or going stale quickly. Grains and flour are well known to attract bugs so it is imperative to ensure that the jars you store your grains or flour in are air-tight.
Keep them in a food grade container in a cool dry place away from sunlight to keep out the moisture and pests. There might be a chance of bugs growing even in the air-tight containers. This is due to the reason that some of the eggs are left unchecked in the container which then grow in the adequate conditions and contaminate the grains or flour.
To tackle the pest problem, you need to sift through your grains thoroughly and then store them at cold temperature, preferably the freezer. Storing it in the freezer will kill any dwelling larvae and inhibit their growth. This way you can get rid of your bug problem and avoid any potential contamination.
The flour can be stored in the same manner. Another valid option for grain or flour storage is canning. You can also vacuum seal your grains as well as your flour. The bacteria and bugs will be devoid of any oxygen and therefore cease to exist. Ensure that the flour has been properly sealed so that no air is left inside.
Now that you are familiar with all the basic knowledge for grinding and storing flour at home, you are ready to engage yourself to try new ideas and experiment with your ingredients. You can create a mixture of light gluten free flours with heavy ones that provide elasticity and texture to your bread. Enjoy the magical process of turning a grain to a healthful rich meal.
If you want to learn more about different types of grain grinders for home use, and how to use them, you can read my post about Grain Grinders for Home Use.